
Crossed roller bearings are among the most capable precision components available for applications that must handle radial loads, axial loads and tilting moments at the same time. Their cylindrical rollers are arranged at 90 degrees to one another in an alternating pattern, which gives them high rigidity in a very compact envelope. That same design, however, makes them far less forgiving than a conventional ball bearing during assembly. A mounting error that would be harmless in a deep groove ball bearing can distort the rings, damage the raceways, or destroy the preload of a crossed roller bearing. This guide explains, step by step, how to install crossed roller bearings correctly, from preparation and handling through mounting, preload setting, lubrication and final verification.
Installation begins with comprehension, not with tools. A crossed roller bearing is a precision assembly in which the rollers are held apart by spacer retainers or a cage, and the rings are hardened and ground to tight tolerances. Because the rollers cross each other, the bearing can carry loads in all directions from a single mounting position. It also means the rings must remain perfectly parallel and square, since any tilt or deformation immediately concentrates stress at the ends of the rollers.
Before starting, confirm exactly which type you have. Common variants include the standard type with a split outer ring, the high-rigidity type with a split inner ring, and thin-section versions used in robotics and rotary tables. Each type is mounted in a specific direction relative to the load. Splitting the wrong ring or reversing the mounting orientation will reduce capacity dramatically. When ordering from a manufacturer such as PRS, the drawing and part number will indicate the intended mounting direction and the allowable fit tolerances, and these documents should be read before the crate is opened.
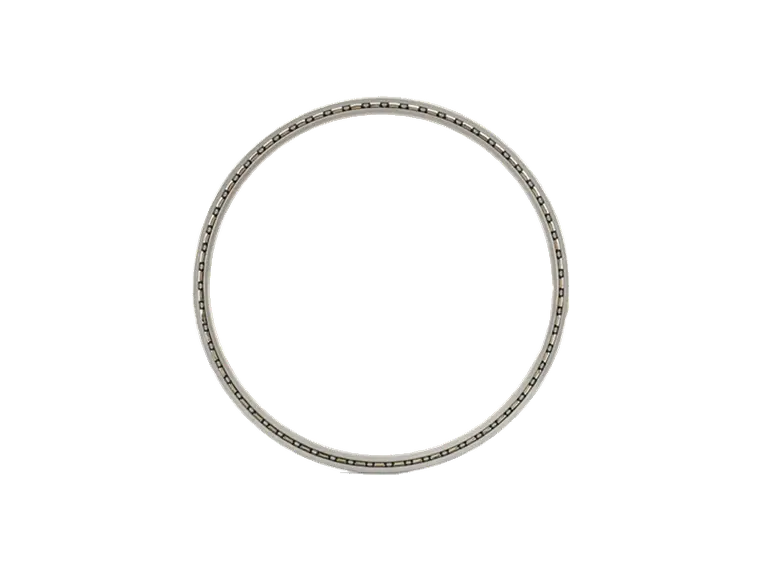
A new bearing is not automatically a perfect bearing after shipping. Inspect the packaging for impact damage, then rotate the bearing slowly by hand and feel for roughness, binding or uneven resistance. Check that the part number on the label matches the drawing. Any bearing that has been dropped should be set aside for re-inspection rather than installed.
The housing bore and shaft seat deserve the same attention. Verify diameter, roundness, cylindricity and shoulder perpendicularity. In most crossed roller bearing arrangements, the rotating ring is mounted with a slight interference fit while the stationary ring has a small clearance, so that the fit prevents creep without crushing the raceway. Measure the actual bore and shaft dimensions with a micrometer or bore gauge rather than trusting the nominal size on the drawing. A housing that is out of round will transfer its shape directly to the bearing ring and will show up later as torque variation and noise.
...
For more detailed information on how to correctly install crossed roller bearings, please click here: https://www.prsbearings.com/news/crossed-roller-4/